
OK, I know I haven’t added a blog for a while. The reason for the hiatus, as mentioned in last May’s blog, is that I now have a new scanner. It is an Epson Perfection V850 Pro™️ scanner which is giving me a chance to revisit negatives that I have printed in the darkroom and some that were put aside because of time, defects in a negative which precluded spending the time to print them, or for whatever reason. See examples 1 and 2 below. The final image, Cloud Over Mono Basin, California, can be seen in the Highway 395 and Death Valley-Monochrome gallery.
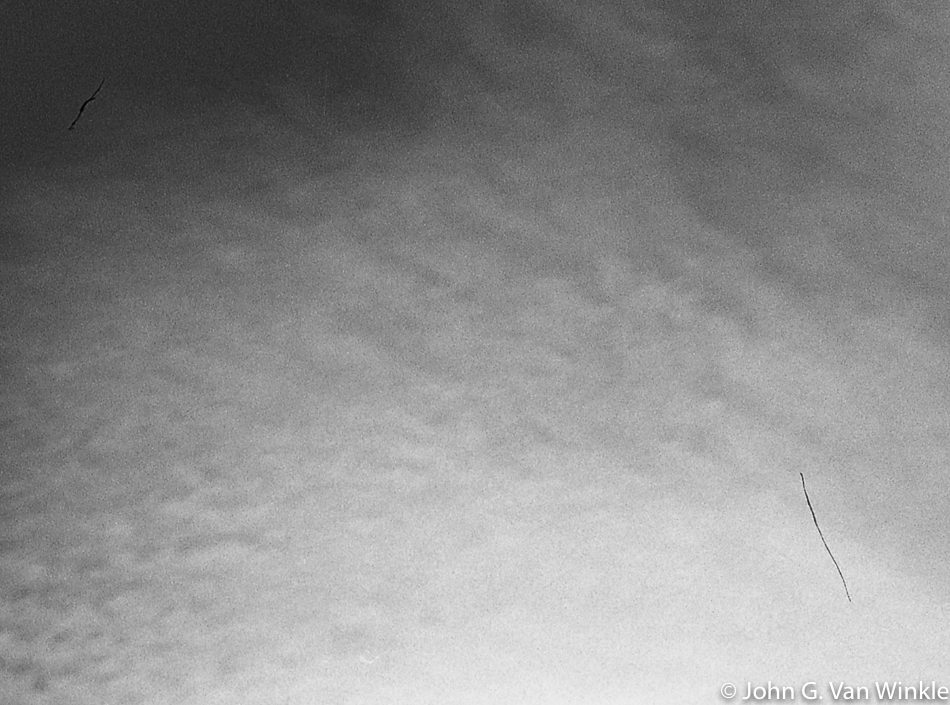
Ex. 1: The top left corner and bottom right corner have some deep scratches in the negative that print black in the print.
Above is a portion of a photograph that had scratches in the sky that were serious enough in the darkroom print that they couldn’t be removed using potassium ferricyanide while the print was wet and then spot toned to match the surrounding sky after the print had dried. Many attempts didn’t produce really satisfactory results in a large print.

Ex. 2: This is the same portion of the print after the scratches were removed using Photoshop's spot healing brush tool.
The learning curve for the scanner is not so steep, but like any new instrument, once the basics have been learned, one must practice, practice, practice. The pre-scan converts the negative into a positive image. Using the pre-scan options, I can adjust the whites, blacks, mid-tones, and contrast to get results that are quite close to what I originally saw when I exposed the negative. After the final scan I can then use the options available in Lightroom, Photoshop, ON1, or Nik Silver image editing software to make further refinements.
Looking through proof sheets from 35 mm, medium format, and large format negatives, I am finding images that I now want to scan, edit, and print digitally. Some I have printed in the darkroom before and some are new. I kept the printing instructions that were made while making silver gelatin prints, and that gets me started with what dodging, burning, dynamic range, toning, and sharpening I want in the final print.
One thing remains the same from the wet darkroom process through the digital imaging process…proof prints. I will talk a little bit about this very important step in my next blog. In the meantime, please visit my monochrome galleries where I have added images from my negative files.